The road to a simple DIY Pedal, pt 9

Last night I got around to desolder and replace the transistor in my simple Bazz Fuss circuit.

Getting it off the board proved every little bit as frustrating as I had imagined, and I ended up demolishing it to a point where it could not be tested for functional errors.

IMG_5009

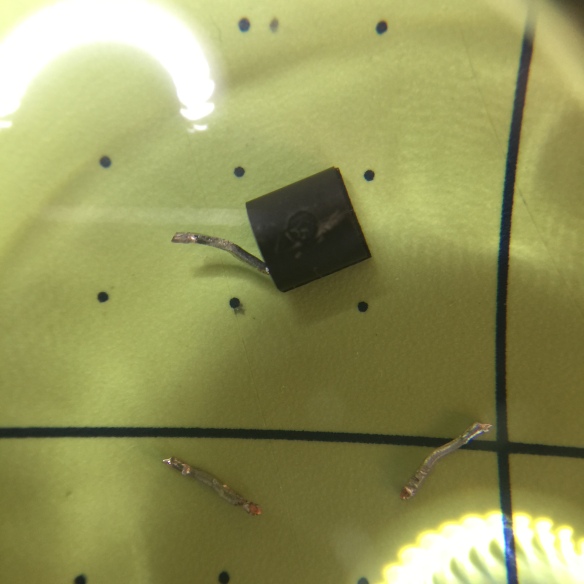
Either way, I soldered in a new one and tried it out.

IMG_5007

Unfortunately it made not difference. The clean, bypassed signal sounds normal, but as soon as I engage the effect I get this oddly clipped, blorring and ‘farting’ sound which increases in awfulness as I turn up the volume.

It is a distorted signal, but somewhere something is still way off….

If you have any tips or thoughts, please share in the comments.

I suck at it, and that’s great!

It’s really odd to switch like this from being heavily into electronica and synthesisers to going 100% into the guitar again.

But there’s something very immediate about it that really appeals to me right now. No cables to connect, no software to update, no keyboard shortcuts to remember or midi timing issues to worry about. Just pick up the guitar and play.

If I’m feeling adventurous I might just turn the amp on… Maybe even a pedal or two.

IMG_4985And, almost out of sight, in the corner of my eye sits the one piece I couldn’t let go of. My Native Instruments Maschine. Actually the piece that started me down the electronica path back in 2012.

I’m holding off for the moment. Savouring in my mind the moment I’ll start playing with it again…

Another great thing about the guitar is that I suck at it.

It’s great because it means there is no pressure to be creative yet. No stress to create actual music or publish polished tracks. For now it’s all about learning the basic handling.

Chords, scales, picking and strumming…

Kind of meditative in a way.

The road to a simple DIY Pedal, pt 7

After essentially hitting the wall and running out of ideas yesterday, my good friend Nicklas pointed out that I had a suspicious solder joint in the lower left side of this photo:

IMG_4937

And of course he was right. If ever there was a cold joint :). A quick resolder took care of that, now the signal is at least stable.

Lesson learned: Always check, check and check your solder joints again. A bad solder won’t always come loose right away, but can let go while you are fiddling around with your contraption.

Rechecking all the other joints revealed nothing out of the ordinary…

The road to a simple DIY Pedal, pt 6

The short is gone.

But!

I’m still not getting the signal I expect. The clean is coming through nicely, but the effected signal sounds extremely muddy and gritty. To the point where its really unusable.

IMG_4946

A bit unsure where to go from here to be honest.

On the bright side, I’ve added the status LED to the circuit, and it lights up just fine :)

IMG_4947

The road to a simple DIY Pedal, pt 5

Less DIY’ing over the coming days… right…

So I dug into the soldering of the components for the pedal, but couldn’t find any errors in the placement or polarity. Then Nicklas give me the suggestion to look for shorts between the copper rails on the board itself, and low and behold:

IMG_4936

That’s a full .5mm of solder right their poking over on the neighbouring rail. And from the +V nonetheless! A quick check with the multimeter confirmed that there was indeed a connection.

Fortunately it was easily fixed:

IMG_4937

And with this the circuit now seems ok from a mechanical perspective.

I’ll check the functionality again tomorrow when I don’t risk waking up the whole building…