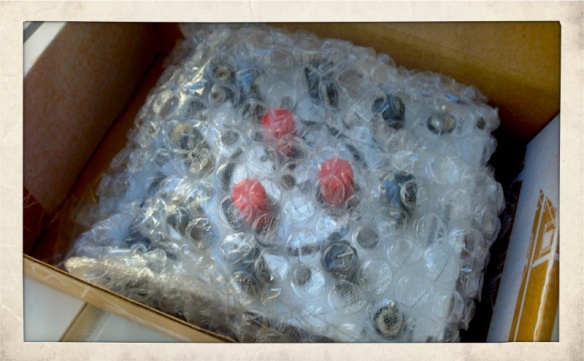
Today I installed the XAOC Devices Moskwa, an 8 step, bipolar, rotary sequencer. I got the module yesterday from ctrl-mod in Brooklyn, and the packaging was as always excellent.
The Moskwa may look like a simple 8 step sequencer, but it has some built in features rarely seen on a compact (20hp) module like this, which set it apart from many other sequencer in the same price/size range.
 On the front panel you will find dedicated knobs for Rate (internal clock), Slew and Reset. The Reset knob can be dialed back to shorten the length of the sequence from 8-1 step. You also get a Direction, Clock, Reset and Pause CV in, that allows for some really interesting performance options. On top of this you also get 3 different playback modes, Standard, Random and Pendulum.
As for outputs you get your standard CV / Gate out.
The red LEDs that light up to show you which step you are on also double as switches. Tap them to ‘mute’ a step, or hold them for 3 seconds to set the gate length for the steps. There is no way to change the gate length for each individual step, but you can switch the length between 1/1 to 1/8 by holding down the corresponding step ‘switch/LED’.
Switching the unit between Unipolar and Bipolar means you can use the Moskwa either to drive sound sources such as VCOs, or as a modulation source. (E.g. set the Moskwa to Bipolar, run the output to the Warna and multiply the signal to both multiples. Switch one of them to invert the incoming voltage and then drive different filters or EGs with the result. Consider adding a slew limited to one of the paths, or a clock divider or… :D )
There is also an expander module in the works that will give you access to a Trigger out for each individual step, new playback modes and the ability to chain two Moskwa modules for a total of 16 steps.
Check out the pictures below that shows the installation:
The module arrived well-packaged in the beautifully designed XAOC box. It comes with a sticket, the manual, mounting screws and a cool retro looking postcard :). The attention to the details is really great, and shows how dedicated the XAOC team is to the quality of their products.
Time to retire one of the big blind panels :). What is it they say? ‘I can stop at 9u. Really!’
Plugged in to the system power bus of the a100lc9 case from Doepfer. Pay attention to the orientation of the cable. As with most Doepfer compatible modules, the Red stripe goes on the bottom 2 pins, but please check the markings on the module PCB and the cable to make sure you align it properly.
Mounted and ready for use! I will cut out some Balsa wood to cover the gaping hole to the right, at least until I can’t control myself any more and order more modules! ;-)
Jus to give you an idea of the size of the module, here it is mounted in the rack.
Check out my post on installing the Warna as well!
Let me know in the comments if you have any questions!


